Getting a new hob feels great until the installation part starts. That’s where most people get a bit unsure. It’s not like the old days, when you just placed a stove on top and connected the pipe. Now everything is built in, fitted into granite, and if one measurement goes wrong, it shows.
The tricky part about hob installation is that it looks simple from the top, but underneath, there’s a lot going on, including cutting, fitting, sealing, and gas connection. Even if you’re planning to call someone for the final setup, knowing how to install hob in kitchen spaces helps you avoid basic mistakes (especially during the cutting stage).
Key Takeaways
- Measure the cut-out size and the glass size are not the same.
- Always use the sealing gasket during hob fitting.
- Never skip the soap test for gas connections.
- Keep the power source safe and accessible.
- Make sure the hob sits flat for proper cooking.
- A careful hob installation saves you problems later.
Pre-Installation: Measuring and Cutting
The most important thing before anything else is the perfect cut-out. This is where things usually go wrong.
Getting the measurements correct
- Follow the template: Most hobs come with a paper template. Don’t ignore it. Place it where you want the hob and mark properly instead of guessing the size.
- Understand cut-out vs full size: The top glass size is bigger, but the hole is smaller. Your stone guy should cut based on the internal size, not the outer one.
- Leave some margin: Don’t make the cut too tight. A small gap (approximately a few millimeters) helps prevent pressure on the glass when it heats up.
- Avoid edge cuts: Keep some distance from the edges of the granite. If it’s too close, the slab can weaken or even crack later.
This step is boring, but honestly, it decides how smooth your hob fitting will be later.
The Actual Hob Installation Process
Once the cut is ready, things start to feel easier. This is where the best gas hob actually goes into place.
Setting the unit properly
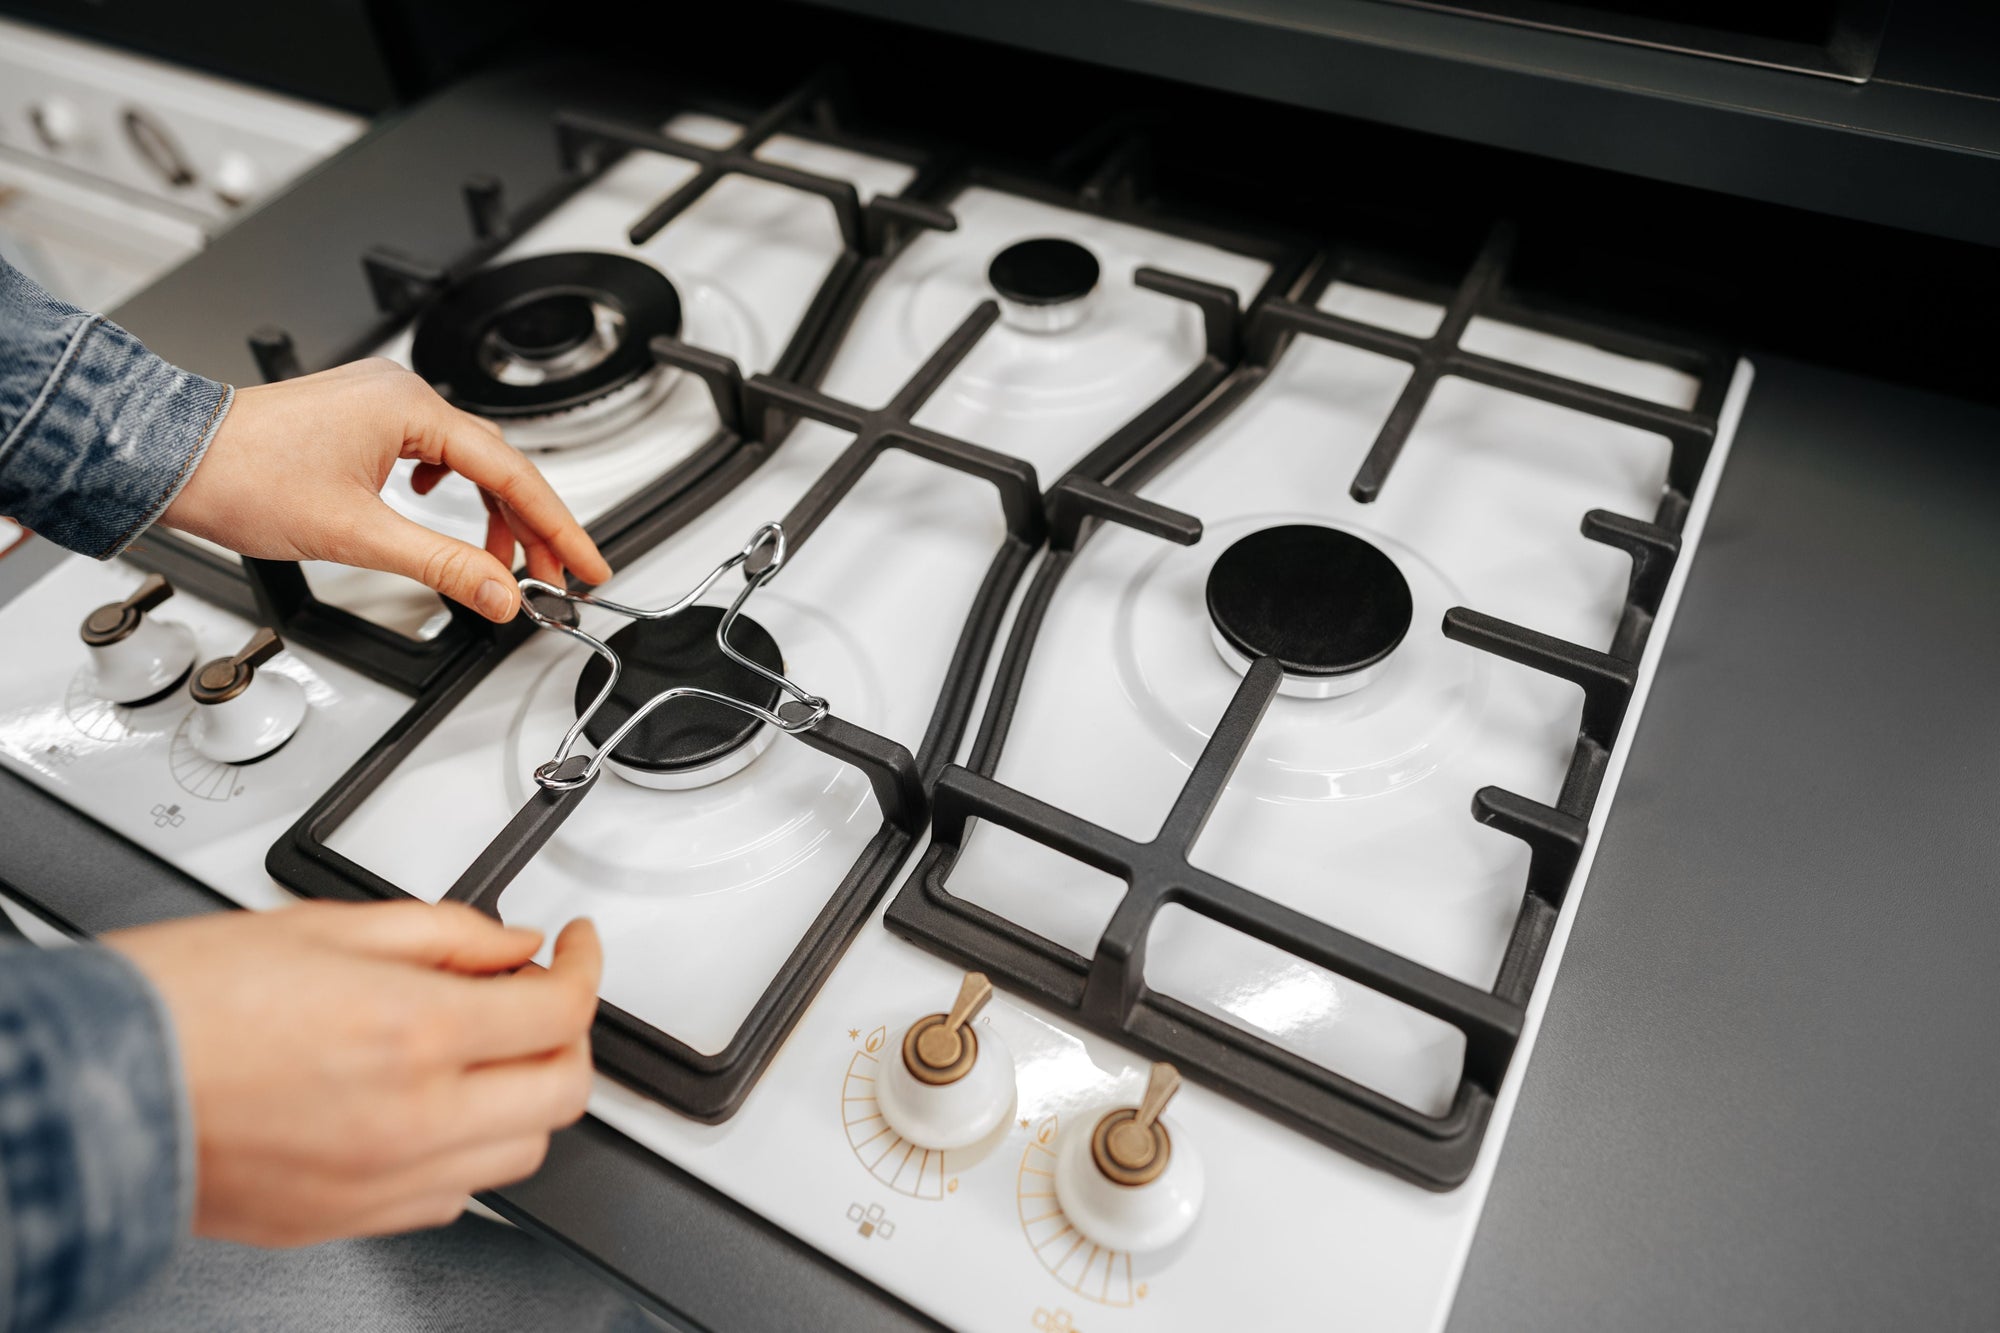
- Clean the area first: Dust or small stone particles can stop the hob from sitting flat. Just wipe everything once before placing it.
- Use the gasket: Most hobs come with a sealing strip. Stick it under the glass edge. It helps prevent water or spills from going inside.
- Place the hob gently: Don’t just drop it into the slot. Lower it slowly and make sure it sits evenly on all sides.
This part of the kitchen hob installation is more about patience than effort.
Kitchen Gas Hob Fitting and Connections
This is the serious part. Everything else is manageable, but gas connections need attention.
Making the connection safe
- Use a proper gas pipe: Go for a good quality, flexible pipe. Cheap ones don’t last long and can crack overtime.
- Tighten the connection properly: Attach the pipe to the nozzle using a wrench. Hand tightening is usually not enough.
- Soap test: Apply soapy water to the joint and turn on the gas. If you see bubbles, there’s a leak. Fix it before moving ahead.
This step is the core of kitchen gas hob fitting. Don’t rush it.
Final Setup and Small Checks
Once the connection is done, there are a few small things left. Easy to ignore, but they matter.
Final things to check
- Power connection: If your hob has auto-ignition, make sure there’s a plug point nearby, and the wire isn’t touching hot areas
- Battery check: Some models use batteries for ignition. Insert fresh ones before closing everything.
- Check leveling: Look at the burners. If the hob is slightly tilted, oil will collect on one side while cooking.
These small checks make your hob installation feel complete.
Why Professional Fitting Still Makes Sense
Even if you understand how to fit hob in kitchen setups, the gas part is still something you shouldn’t take lightly.
At Köche, the recommendation is simple: do the prep work but let trained technicians handle the final connection. They check pressure, ignition, and overall safety properly.
A good kitchen gas hob fitting isn’t just about connecting a pipe. It’s about making sure everything runs safely in the long run.
Also Read: Hob vs Cooktop: Which Is Better for Indian Kitchens?
Conclusion
Learning how to install hob in kitchen setups is mostly about getting the basics right: measurement, placement, and safe connection. Everything falls into place once the cut is accurate and the gas hob fittings are secure. The hob sits properly, works smoothly, and you don’t have to keep fixing things later. A clean, proper hob installation doesn’t just make your kitchen look better; it makes cooking easier and safer every day.
FAQs
Can I install a hob on my own?
You can handle the basic setup and placement. But for a gas connection, it’s better to call a professional.
Do I need to fix the hob permanently into the counter?
No. The weight and gasket are enough. Don’t use cement or glue, it makes future repairs difficult.
What if my granite cut is wrong?
If the cut is small, then there is no issue because it can be widened. But if the cut is too big, then there is a need for a bigger hob or a frame to cover the gap.
How much space should I leave from the wall?
At least a couple of inches. It helps with movement and avoids hitting utensils against the wall.
Can I use any gas pipe?
It would be better to use a good-quality flexible pipe because it lasts longer and is safer for daily use.
Share:
Which Type of Kitchen Chimney is Best for Indian Home?
Ducted vs Ductless Chimney: Which One Is Better for Kitchen?